Want to add custom module data from a blog post template to the blog listing? Include a way to locally change a global module without having to make a clone of it? Or even just access simple settings for dictating the look and feel of your template? You can do all of this using the HubL tags widget_data or widgets.
widget_data
This dictionary variable (a collection of key-value pairs; dict for short), in conjunction with the export_to_template_context parameter, is used to access data from HubL Standard Tags and modules that you do not wish to render to the page.
export_to_template_context
For widget_data to be able access any information from a module or tag they first need to be removed from rendering and exported to the template context. To do this you simply need to set, on the module or tag, the export_to_template_context parameter as True.
Use widget_data within a template
If you then wanted to use your exported module data inside the template; you can access it using widget_data, the module’s ID, and the parameter you want to get the value of.
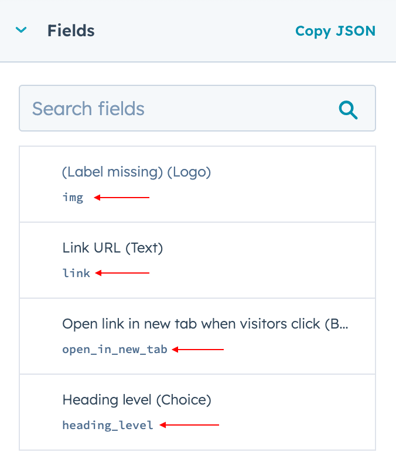
The ID of a module is the quoted text without a parameter, usually at the beginning of the module call. In the example above this is “color_scheme”.
For HubL Standard Tags you would then access a parameter set within it such as "value" from our color_scheme example.
For modules you would access the field name. If it’s a custom module this name would have been set by yourself when adding the field to the module. For default HubSpot modules you can find them in the Design Manager to look at what field names and types they’re using.
When using widget_data, keep in mind that you can only access the data after where the module is added into the template. Let’s look at the following example:
Our widget_data above will not print anything because we’re trying to access it before the module technically exists. With exported modules though we are not limited to placing them inside our content since we aren’t rendering them to the page. So, to add our selected value to the body class we simply need to move our module outside of, and before, the body.
Now when the body is rendered it’ll have the selected color scheme set as its class.
Use widget_data in other modules
We can also use widget_data inside modules to pull in data from other modules. For example, if we want a user to be able to change the logo locally of a global header module we can use a local module for picking the logo and widget_data to render it inside the global header:
- We’ll use the HubL Standard Tag for logo
- Give it an ID of “local_logo”
- Set export_to_template_context to true
- And remember to place it above our global header module so that it’ll be accessible to the global header module
In our global header module we will want to check if a local logo has been selected by checking if a src exists. In the logo tag the src variable is inside a logo dict variable so we would access it with widget_data by accessing the module ID ('local_logo'), the logo variable, then the src variable.
Since our global header is using a Logo field to render a logo, which has the same dict setup as the Logo HubL tag, let's create a simple if statement to decide which variable to use.
We'll first create a variable called logo and set it to our global header's logo field by default.
Then we'll create an if statement checking if the local_logo's src exists. If it does, we'll set our logo variable to our local_logo's logo.
Lastly, we use our logo variable inside our logo rendering tag to render the src, alt, width, and height of whichever logo is set to be used.
Now when creating pages with the template a user will have the option to change the global logo without making the entire header local.
Widgets
If you have modules or HubL Standard Tags that you are displaying on the page and wish to access their data, you can use the widgets dict that is accessible from the page/post data. Unlike widget_data, this dict can be accessed outside of the page when pulling in page/post data through a blog listing or using functions and tags like related_blog_posts and content_by_id.
Using widgets in a blog listing
Let’s say we have a blog of media items and want to include their source (YouTube, TikTok, Vimeo, TedTalk, ect) as part of the content, both in the post and in the listing.
We could just set them as tags on the blog posts, however we don’t want tag pages created for these sources. In this case we can add a module to our blog post for adding the source and use widgets in the blog listing to access that module.
While we could create a custom module for this we will instead use the HubL Standard Tag for text, since it's only one field, to add the source to our blog hero.
We’ll give the tag an ID of “video_source” and leave the value blank, since we require it to be edited anyway to be able to access it.
Then when we run our for loop for the blog listing we can pull the video source using widgets.
It’s very similar to using widget_data, with accessing the module using the module ID and the field name. However, between the ID and name we need to add body as modules inside the widgets dict have their fields contained inside a body object.
Use widgets in a function
Now let's say we want to show that same video source on a page where we're displaying our most recent blog posts. Accessing the data will be exactly the same as in the blog listing, but just change “content” for whatever variable is being used to hold the page or post data.
The above example displays the post name and video source of three most recent posts, using the blog_recent_posts function.
The for loop uses the variable ‘post’ to hold the post data, so that variable is where we access widgets from.
Knowing now how to display module data elsewhere in the same template, inside other modules, and on external pages will give you far more flexibility with how you use custom modules and their data.